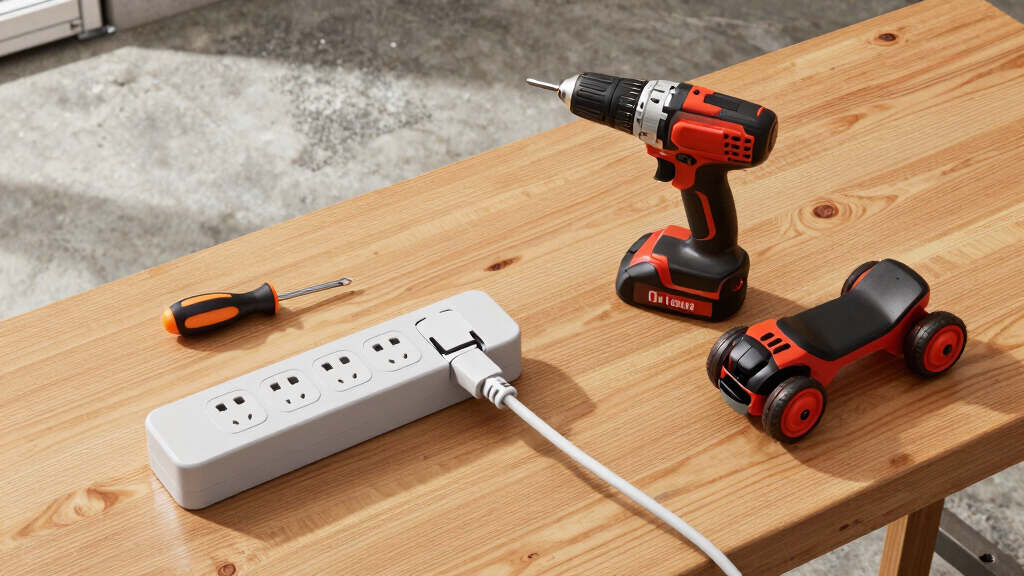

TL;DR
Open a free Amazon Business account
Business pricing, bulk buying and tax-exempt orders.
Create a free accountAs an affiliate, we earn on qualifying purchases.
Charging your ride-on in the garage is simple when you know the right circuits and outlets. Proper setup prevents safety risks and speeds up recharge times, especially with newer lithium-ion batteries that can charge in as little as 2-4 hours.
Ever tried charging a ride-on in the garage, only to wonder if your wiring can handle the load or if you’re wasting hours waiting? You’re not alone. Many owners overlook simple electrical setups that can make or break safety and efficiency.
In this guide, you’ll learn exactly what circuits and outlets suit your ride-on, how long charging really takes, and practical tips to keep everything safe and in top shape. Whether you’re a weekend warrior or a property-care pro, get ready to power up smarter.
Use a dedicated, GFCI outlet and circuit for charging to prevent electrical hazards.
Follow manufacturer recommendations for chargers and charge times—don’t guess or improvise.
Lithium-ion batteries charge faster—often in 2-4 hours—and last longer, but need proper handling.
Regularly inspect cables and connections to avoid safety risks and prolong battery life.
Smart chargers and new tech are making charging safer, quicker, and more convenient—stay updated.
Charging a Battery Ride-On in the Garage: Circuits, Outlets and Charge Times
TL;DR: A safe garage setup starts with a dedicated circuit, a GFCI outlet, the manufacturer-approved charger, and realistic charge windows. Lead-acid packs often need overnight charging, while newer lithium-ion batteries can be ready in 2-4 hours.
Most ride-on chargers fit comfortably on a properly rated 15A circuit.
Lithium-ion systems charge faster but need compatible chargers and battery controls.
A dedicated GFCI charging point lowers shock, overload, and overheating risk while helping protect battery lifespan.
Breaker capacity for stable power without nuisance trips.
Ground-fault protection is the safer default near moisture.
Common full-charge range for traditional ride-on batteries.
Faster charging with better energy density and longer service life.
Use the manufacturer-recommended charger whenever possible.
What keeps charging safe and fast?
The charger is only one half of the system. The garage circuit, outlet protection, cable condition, and charging habits decide whether power delivery is stable or stressful.
Dedicated circuit
A circuit used only for charging avoids voltage dips from saws, compressors, heaters, and other high-demand garage tools.
15A breaker
Most ride-on chargers draw around 8-12 amps, so a properly installed 15A or higher circuit gives a practical safety margin.
GFCI outlet
A GFCI receptacle trips during a ground fault, adding protection in garages where humidity, concrete floors, and water are common.
Which garage outlet setup should you use?
Standard 110-120V outlets work for most North American ride-on chargers, but the safer station is protected, dedicated, and matched to charger amperage.
| Setup | Works for charging? | Safety rating | Best use | Watch-outs |
|---|---|---|---|---|
| Shared standard outlet | ~ | Acceptable only if lightly loaded | Occasional low-current charging | Can trip if tools or appliances share the circuit. |
| Dedicated 15A GFCI outlet | ✓ | Recommended garage baseline | Most lead-acid and lithium ride-on chargers | Match charger specs and inspect cords regularly. |
| Higher-amperage outlet | ~ | Useful only when charger supports it | Approved faster charging systems | Never force a charger into an incompatible outlet. |
| Damaged, loose, or unprotected outlet | ✗ | Unsafe | None | Heat, arcing, shocks, and fire risk are possible. |
Five-step garage charging flow
Use the same sequence every time so the battery gets a complete charge without turning the garage into a guessing game.
Inspect
Check charger body, cable jacket, plug, and battery connector for heat marks or damage.
Plug in
Use a dedicated GFCI outlet instead of a shared circuit with power tools.
Match
Confirm charger voltage, chemistry, and connector match the ride-on battery.
Monitor
Use charger indicators or app status to track progress and abnormal heat.
Unplug
Disconnect at full charge unless the charger is designed for maintenance mode.
How long does a ride-on battery really take?
Charge time depends on battery capacity, chemistry, and charger current. Planning around these ranges keeps the ride-on ready without overcharging or deep-discharge damage.
Typical full-charge windows
Lead-acid batteries usually need the longest recovery time. Lithium-ion packs compress that wait dramatically when paired with the correct charger.
Example calculation
A 12V, 10Ah lead-acid battery on a 1A charger often needs about 10 hours before losses and tapering. A lithium pack on a compatible 2A charger can land under 3 hours.
Use the charger light, manual, or app status as the final authority rather than a stopwatch alone.
Best practices that protect battery life
Small routine checks prevent the big failure modes: overheating, shorts, corrosion, undercharging, deep discharge, and charger mismatch.
Charge fully before first use
This helps calibrate charge behavior and starts the battery in a healthy state.
Avoid charger improvisation
Cheap incompatible chargers may lack current limiting, temperature control, or automatic shutoff.
Inspect cables and contacts
Replace frayed cords, loose connectors, corroded contacts, or plugs that feel hot.
Store cool and dry
Temperature extremes accelerate capacity loss and can create safety hazards.
What is changing next?
Ride-on charging is moving from simple wall bricks toward smarter systems that monitor battery condition, tailor current, and show status more clearly.
Smart chargers
Microprocessors adjust charge cycles, limit current, and reduce overcharge risk.
Better BMS
Battery Management Systems track temperature, voltage, and cell health in real time.
Faster lithium
Some newer models can move toward sub-2-hour charging with approved hardware.
Wireless future
Wireless pads are still rare for ride-ons, but the trend points toward cleaner garage stations.
From outlet choice to longer battery life
Safe charging is a connected chain. A weak link upstream can show up later as heat, slow charging, shorter runtime, or early battery failure.
GFCI outlet
Shock protection in garage conditions
Dedicated circuit
Stable current and fewer trips
Correct charger
Voltage and chemistry matched
Heat control
Lower stress during charging
Battery health
Less swelling, leakage, and loss
Ready runtime
Predictable power when needed
Fast answers for garage charging
The safest answer is usually the most boring one: follow the manual, match the charger, protect the outlet, and do not ignore heat or damaged wiring.
Can I use any garage outlet?
Use a dedicated GFCI outlet rated for the charger amperage. Avoid circuits shared with high-demand tools, heaters, or compressors.
How do I know it is fully charged?
Most chargers use indicator lights or app status. Green, full, or solid lights usually mean complete, but the manual is the final guide.
Is overnight charging safe?
It can be acceptable for lead-acid systems with automatic shutoff, but avoid leaving batteries charging indefinitely or unattended for long stretches.
When should I replace the battery?
Look for swelling, leakage, corrosion, excessive heat, sharply reduced runtime, or failure to hold charge after a full cycle.
What Circuit Setup Keeps Your Ride-On Charging Safe and Fast
The first step is understanding the circuit in your garage. Most ride-on chargers draw around 8-12 amps, so a dedicated circuit is best. Using a circuit with a breaker rated for at least 15 amps ensures stable power flow without overloads.
For example, if your garage shares a circuit with high-demand tools, plugging in your ride-on could cause voltage dips or trips. Installing a dedicated circuit with a GFCI outlet adds safety, especially in humid environments.
Proper circuit setup prevents overheating, reduces fire risk, and ensures your battery charges efficiently without interruption.
As an affiliate, we earn on qualifying purchases.
Choosing the Right Outlet for Your Garage Charging Station
Most household garages have standard 110-120V outlets, perfect for charging ride-on toys. But not all outlets are created equal. A GFCI (Ground Fault Circuit Interrupter) outlet is a must-have for safety, especially near water or moisture-prone areas.
Imagine plugging your ride-on charger into a GFCI outlet that trips if there’s a ground fault. It’s a quick safeguard against electric shocks and damage. For faster charging, consider outlets with higher amperage ratings—just ensure your charger matches.
For example, a 15-amp GFCI outlet can handle most ride-on chargers and protect your equipment and family from electrical mishaps.
garage GFCI outlet for ride-on cars
As an affiliate, we earn on qualifying purchases.
As an affiliate, we earn on qualifying purchases.
How Long Does It Really Take to Charge a Ride-On Battery?
Charge times vary widely based on battery capacity and charger power. A typical lead-acid battery (around 12V, 10-15Ah) takes roughly 8-12 hours to fully recharge. Lithium-ion batteries are faster, often ready in 2-4 hours.
For example, if your kid’s ride-on has a 12V, 10Ah lead-acid battery, a standard charger at 1 amp will need about 10 hours to top it off. On the flip side, a lithium-ion pack with a 2-amp charger can cut that time to under 3 hours.
Understanding these times is crucial because it influences how you plan your charging schedule. Overcharging or leaving batteries drained can cause capacity loss or damage, shortening battery lifespan. For instance, consistently undercharging lithium-ion batteries or leaving lead-acid batteries fully drained can lead to early failure. Knowing realistic charge times helps you balance convenience with longevity, ensuring your ride-on is ready when you need it without risking safety or performance.
lithium-ion ride-on battery charger
As an affiliate, we earn on qualifying purchases.
As an affiliate, we earn on qualifying purchases.
Best Practices for Charging Your Ride-On Safely and Efficiently
Follow these simple rules for safe, long-lasting charging:
- Charge fully before first use to calibrate the battery, which helps ensure accurate charge levels and prolongs overall battery health.
- Always connect to a dedicated, GFCI outlet—never share circuits with high-power tools—this prevents voltage drops and reduces the risk of overloads that can damage your charger or battery.
- Unplug once the battery reaches full charge—many modern chargers do this automatically, which prevents overcharging that can degrade battery capacity over time.
- Keep the charger and cables in good condition—damaged cords can cause electrical shorts or fires. Regular inspection and replacement of worn cables are essential safety steps.
- Store batteries in a cool, dry place when not in use. Proper storage minimizes capacity loss and prevents damage from temperature extremes, which can cause internal degradation or safety hazards.
For example, modern chargers with auto shutoff features significantly reduce the risk of overcharge, but it’s still wise to periodically check the charging status. Developing good habits—like avoiding leaving batteries charging unattended for extended periods—can prevent unforeseen issues. Proper charging practices not only extend battery life but also mitigate safety risks, such as overheating or electrical shorts, which could potentially cause property damage or harm to your family.
dedicated circuit for ride-on vehicle charging
As an affiliate, we earn on qualifying purchases.
As an affiliate, we earn on qualifying purchases.
Emerging Tech and Trends in Ride-On Charging
Recent advances are making charging quicker and smarter. Smart chargers with microprocessors monitor battery health, adjust current, and send updates via apps. Some newer models can charge lithium-ion batteries in under 2 hours, a big improvement over older models.
Wireless charging is also on the horizon, promising a cleaner, more convenient setup—though it’s still rare for ride-ons. Additionally, improved Battery Management Systems (BMS) help prevent overcharge, overheating, and extend battery life. These systems analyze battery condition in real-time, making adjustments to charging rates to optimize lifespan and safety.
Imagine plugging in your ride-on, then checking an app that shows the charge progress, health, and estimated time remaining. This integration of technology not only speeds up charging but also provides peace of mind and better battery longevity by preventing unsafe conditions.
Key Facts Every Ride-On Owner Should Know About Charging
Charging correctly can double the lifespan of your ride-on battery. Proper circuits and outlets prevent damage and safety risks, but understanding why is crucial. Using a dedicated circuit minimizes the risk of overloads that can cause overheating and fires, while GFCI outlets protect against ground faults that could lead to shocks or damage.
Always use the charger recommended by the manufacturer—cheap knockoffs might seem tempting but often lack safety features and can cause overheating, fires, or damage to your battery. Lithium-ion batteries charge faster and last longer than lead-acid models, but they’re also more sensitive to improper charging—overcharging or using incompatible chargers can lead to capacity loss or safety hazards.
Regular maintenance, like cleaning contacts and inspecting cables, ensures optimal performance and safety. Recognizing signs of aging or damage, such as swelling or leaks, prevents dangerous failures. Properly maintained and charged batteries not only extend your ride-on’s life but also keep your property and loved ones safe from electrical risks. Understanding these key facts helps you make informed decisions about your charging routine, ultimately safeguarding your investment and loved ones.
Frequently Asked Questions
Can I use any outlet in my garage for charging?
It’s safest to use a dedicated, GFCI outlet rated for the charger’s amperage. Avoid sharing circuits with high-demand tools to prevent voltage dips or tripping. Always follow the manufacturer’s recommendations for outlet type and setup.
How do I know when my ride-on battery is fully charged?
Most chargers have indicator lights—green usually means full, red means charging. Modern chargers often shut off automatically when done. If unsure, check the user manual or use a voltmeter to confirm voltage levels—around 12.6V for a full 12V lead-acid battery. Recognizing the full charge state helps prevent overcharging or undercharging, both of which can reduce battery lifespan and performance.
Is it safe to leave the battery charging overnight?
Yes, if you’re using a modern, automatic charger with overcharge protection. These chargers cut off power once the battery reaches full capacity, minimizing risks. However, it’s still wise to check periodically, especially if the cables or charger are older or damaged, to ensure safety and prevent unnoticed issues.
What signs indicate my battery might need replacing?
If the ride-on runs significantly shorter than usual, or you notice the battery won’t hold a charge despite proper charging, it’s likely time to inspect or replace. Swollen, leaking, or corroded batteries pose safety risks—immediately replace them to avoid damage or hazards.
Can I upgrade to a faster charger?
Only if the charger matches the battery’s specifications. Using a higher amperage charger than recommended can cause overheating, capacity loss, or permanent damage. Always consult the manufacturer’s guidelines—an incompatible charger can shorten your battery’s lifespan or create safety hazards.
Conclusion
Getting your ride-on charged safely isn’t complicated, but it does require a bit of planning. Proper circuits, outlets, and charging habits can turn a simple task into a long-lasting, worry-free routine.
Next time you plug in, think of it as a small investment in safety and battery health. A quick, smart charge now means more fun and fewer headaches later.
Flea & tick season Picks
flea and tick prevention
As an affiliate, we earn on qualifying purchases.