
TL;DR

Get business pricing on tools and workshop supplies
- Business-only prices and quantity discounts
- Tax-exempt purchasing
- Multiple users, one account, clear invoices
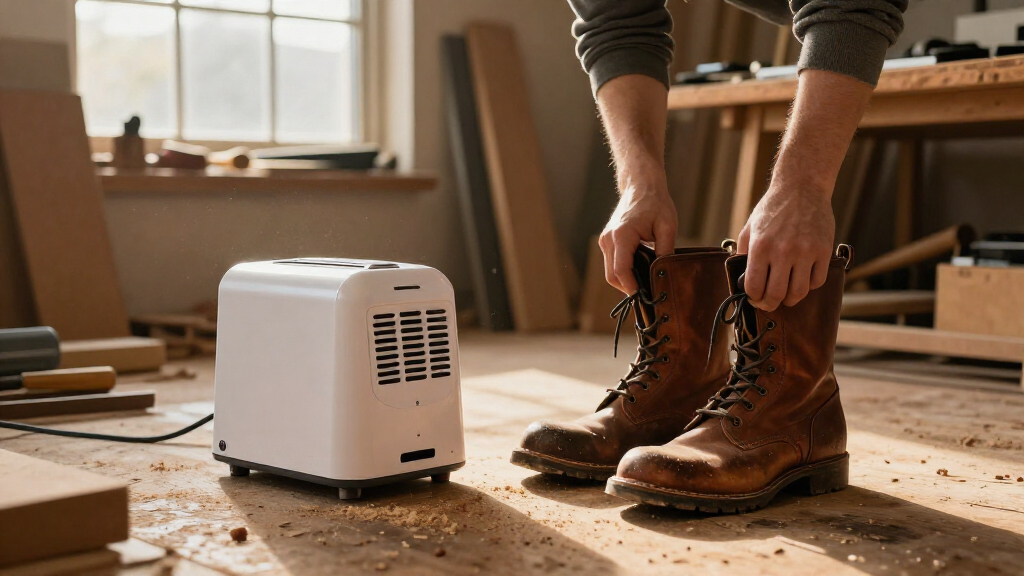
To dry wet work boots overnight, remove the laces and insoles, blot away surface water, loosely fill the boots with absorbent paper, and place them in a ventilated room with a fan circulating room temperature air. Check the lining and footbed in the morning; soaked boots may need more time, and radiators, hair dryers, and other strong heat can stiffen or crack leather.
You come in from a wet shift, set your boots by the door, and hope they’ll be ready by dawn. The leather may look dry by morning while the toe lining still feels cool and damp. Put that boot back on too soon and you trade one wet day for a clammy start.
You can speed drying without cooking the leather: open the boots, separate the damp parts, pull moisture out with absorbent paper, and let moving room temperature air do the rest. This guide shows you what to do tonight, how to tell whether the boots are dry enough to wear, and when an overnight turnaround simply isn’t realistic.
The method applies to many leather work boots, but construction matters. Suede, nubuck, waterproof membranes, foam, stitching, and glued components can each have different care limits, so check the maker’s instructions when you have them. The aim is practical: get the boots dry without sacrificing their shape, flexibility, or useful life.
Remove laces and removable insoles, then open the boot so air can reach the tongue, footbed, and toe.
Blot surface water and loosely fill boots with clean absorbent paper; replace it when damp.
Use a fan to circulate room temperature air. Avoid radiators, fireplaces, hair dryers, clothes dryers, and direct sun.
Check the lining, toe area, and beneath the insole in the morning; soaked boots may need longer than overnight.
Wait until leather is fully dry before using a compatible conditioner, and follow separate care guidance for suede, nubuck, and membrane boots.
Dry Wet Work Boots Gently Overnight
Open the boots, draw moisture out with paper, and circulate room temperature air. Check inside before wearing: a dry-feeling exterior can hide a damp lining.
Tonight’s drying routine
Separate damp parts and keep air moving through the boots.
Brush off mud, blot surface water gently, remove laces and removable insoles, and pull the tongue forward.
Fill loosely with clean, unprinted paper. Replace it when damp so air can still circulate.
Set boots in a ventilated room with a fan circulating room temperature air.
Choose airflow over heat
Fast surface drying can leave moisture trapped inside and stress the boot’s materials.
- Fan circulating room temperature air
- Loosely packed absorbent paper, changed when damp
- Insoles and laces drying separately
- Radiators, fireplaces, and direct sun
- Hair dryers and clothes dryers
- Heat that can stiffen or crack leather and weaken adhesives or stitching
Check the hidden damp spots
Look and feel inside after a few hours and again in the morning.
Lining and toe
Check for cool or damp areas, even if the outer leather feels dry.
Footbed
Check beneath the insole. If it remains damp, keep air drying.
Follow boot guidance
Suede, nubuck, membranes, foam, and glued parts can have different care limits.
How to Dry Wet Work Boots Overnight Without Damaging Leather
Dry wet work boots by opening them up, absorbing moisture, and moving room temperature air around them; don’t force the job with strong heat. If your boots are only damp from wet grass, that approach may get them close to ready by morning. Boots soaked through after a long rain may need another day, because water trapped in the lining and toe takes longer to escape than water on the surface.
- Brush or wipe off mud and blot surface water with a towel. Dab gently; wet leather is more vulnerable to scuffing, and dried mud can hold moisture against the upper.
- Remove the laces and insoles if the maker allows it, then pull the tongue forward and open the boot wide. This separates the damp layers so air can reach the footbed and inner surfaces.
- Fill the boots loosely with clean absorbent paper, leaving space for air to circulate. The paper draws moisture from contact points, but tight packing blocks airflow; change it when it feels damp so it can keep absorbing.
- Set them in a ventilated room and place a fan nearby. Let it circulate room temperature air rather than blow hot air directly at the leather. More airflow helps evaporation, while mild conditions reduce the risk of drying the outer leather too fast.
- Check them after a few hours and again in the morning. Feel the lining, toe area, and under the insole. If any spot remains damp, keep drying; the overnight target is a useful estimate, not a deadline that makes a wet boot ready.
For example, if you finish a muddy fence repair at 6 p.m., a quick wipe, paper changes before bed, and gentle airflow can make a real difference by morning. Check the paper rather than assume the clock settles it: damp paper has absorbed moisture and cannot take up as much more, so replacing it restores its usefulness.
When the boots feel dry inside and out, let them return to their usual shape. Condition smooth leather sparingly if needed and apply your normal water-repellent treatment according to the boot maker’s guidance. Wet boots don’t always dry overnight, and waiting is better than squeezing a damp lining into a full shift, where trapped moisture can undermine comfort and contribute to persistent odor.
Popular right now

Ninja Crispi Microwave and Air Fryer with FusionCrisp, Silver, MW101

Shark NV752 Rotator Powered Lift-Away TruePet Upright Vacuum, Bordeaux

Ninja CREAMi Scoop & Swirl 13-in-1 Ice Cream and Soft Serve Maker, NC701
As an affiliate, we earn on qualifying purchases.
Why Gentle Air and Paper Beat a Blast of Heat
Gentle airflow and moisture-absorbing paper dry wet work boots more safely than a radiator or hair dryer because they help moisture leave without rapidly heating the leather. Leather needs to retain flexibility; when its surface dries much faster than the layers beneath it, the material can stiffen, crack, or lose shape. Strong heat can also stress adhesives and stitching, so a quick surface dry may trade time saved tonight for a boot that wears poorly later.
Think of the difference between a shaded breeze and a hot dashboard on a summer afternoon. The breeze takes its time and reaches more evenly; the dashboard bakes one side while the inside stays damp. In the same way, a fan supports evaporation without concentrating heat on one panel or the toe. The tradeoff is speed: mild airflow may take longer, but it gives moisture a chance to move out of the whole boot rather than hiding under a dry-feeling surface.
Let air do the moving and paper do the absorbing. A fan helps moisture leave; loosely packed paper contacts damp areas inside while leaving room for air to circulate.
Paper works only when it can make contact without sealing the boot shut. Pack it loosely, and replace it when it feels wet or limp; saturated paper stops being an effective moisture sink. If you use newspaper, remember that ink may transfer onto light-colored lining, so plain, unprinted paper is the safer choice for pale interiors.
A fan running across the room is useful even if the air feels cool. It should circulate room temperature air rather than blow hot air directly at the leather. This may feel slower than a hair dryer, but a five-minute blast can over-dry the surface while leaving moisture tucked in the toe. Moderate airflow favors an even result, and checking the inside tells you when the extra time has actually paid off.
Remove the Insoles and Laces So the Hidden Damp Spots Can Dry
Removing the insoles and laces exposes damp areas that can stay wet after the boot’s surface feels dry. Insoles absorb sweat and rain, while a tied tongue and crowded eyelets restrict airflow across the upper. Separating these parts gives moisture a shorter path out of the boot and makes it easier to find the places that need more time.
Picture a pair of boots from a rainy site walk: the leather looks almost dry, but the footbeds still feel cool and the laces are dark near the bottom eyelets. If you leave everything in place, the footbed presses against a damp interior and limits air movement below it. Take it out, and air can reach the underfoot area; the tradeoff is that you now need to dry and check each loose part too.
Place the insoles and laces beside the boots in the same ventilated spot. Don’t lay them on a radiator to speed things along; heat can affect their materials just as it can the boot’s leather and construction. If the insoles are not removable, follow the manufacturer’s care instructions and rely on airflow and paper inside the boot rather than pulling at a fixed component.
This step can also help with odor, though it does not remove odor by itself. Damp insoles worn day after day can hold moisture and smell stale. Letting them dry separately between shifts gives that moisture time to escape, while removing them helps you inspect the footbed before lacing up. If the smell remains after everything is dry, the source may need cleaning according to the maker’s instructions.
Choose a Drying Setup That Fits Your Boots and Your Room
The right drying setup uses steady airflow and mild conditions, with enough room around the boots for air to move. A fan, a ventilated utility room, and absorbent paper suit many leather boots. A boot dryer or reusable insert can also help, but its heat level, airflow, and compatibility with your footwear matter: a device may speed drying while still being unsuitable for a particular lining, membrane, or adhesive.
| Method | What it does well | What to watch |
|---|---|---|
| Fan and loose paper | Moves room temperature air while paper absorbs moisture inside | Change paper as it gets damp; don’t pack it tightly |
| Absorbent drying insert | Draws moisture from the footbed and toe area | Use an insert that fits without blocking airflow |
| Boot dryer | Provides directed airflow into the boot | Check the maker’s guidance for temperature and boot materials |
| Radiator, fireplace, or hair dryer | Applies concentrated heat | Can dry leather too quickly and stress its finish or construction |
For example, if you work in a cool mudroom with little air movement, placing the boots near—but not against—a fan may work better than leaving them in a closed closet. The fan does not remove moisture by itself; it helps carry away humid air near the boot so more can evaporate. If you use a low-temperature or circulating-air boot dryer, read its instructions and your boot maker’s care guidance before choosing a setting.
“Made for footwear” does not automatically mean safe for every pair. Newer boots may combine leather with membranes, foam, and heat-sensitive adhesives. The benefit of a boot dryer is directed airflow; the risk depends on how warm it runs and what the boot is made of. Follow the specific manufacturer guidance and avoid guessing a device temperature, especially when the boots include materials with different drying limits.
Check Inside Before You Trust a Boot That Feels Dry
A boot is ready only when its lining and footbed feel dry, not merely when its outer leather feels dry to the touch. The toe box, inner heel, and area beneath the insole can hold moisture after the upper looks fine because these enclosed areas get less airflow. Checking them matters because a damp boot can feel clammy during a shift even when its outside seems ready.
Use your hand to feel along the inside, especially near the toe where the space narrows and airflow drops. If the removable insole feels cool or damp underneath, give it more time. A dry-looking outside can fool you after a night in a humid room, just as the ground can look firm while mud waits underneath; the hidden area is what determines whether the boot is comfortable to wear.
A damp lining can make the next shift uncomfortable and add to persistent odor. Fragrance only masks a still-wet boot; it does not dry the lining. Let the boots air fully, and clean or dry removable insoles according to the maker’s instructions if the smell remains after the moisture is gone.
Here’s a practical morning check: take out the paper, feel the toe and heel lining, then check the footbed and insole separately. If any part is damp, continue drying while you wear another pair if possible. That extra wait may be inconvenient, but it protects comfort and avoids repeatedly trapping moisture against your feet.
Treat Suede, Nubuck, and Smooth Leather Differently
Leather type determines what you should do after drying: smooth finished leather may take a compatible conditioner, while suede and nubuck need a gentler surface treatment. All can benefit from careful blotting and airflow, but the wrong cream or brush can mark the finish. Follow the boot maker’s care instructions for your specific material and construction, since the visible leather may sit over a membrane or other material with its own limits.
If muddy water splashes across a smooth leather boot, wipe away the mud gently, then let the boot air dry. Once it is fully dry, apply a small amount of a suitable conditioner if the leather needs it. Test it on an inconspicuous area first; some products can darken leather or leave it softer than you want, which may change the appearance or feel even if the boot remains usable.
For suede or nubuck, blot the wet surface and avoid rubbing while it is wet. Water can mat or mark the raised nap, and rubbing may press dirt further into the surface. Wait until it has dried before brushing with the appropriate suede or nubuck brush. Ordinary leather polish or conditioner can flatten or change the surface, so use it only if the manufacturer specifies it.
Don’t condition wet boots. Applying product while moisture remains can interfere with drying, and too much conditioner may soften or darken some leathers. A farm worker coming in after a wet morning can finish the job with patient air drying first, then a light, compatible treatment if the boot’s condition calls for it. The extra step is useful only when the leather needs conditioning; it is not a substitute for removing moisture from the lining.
Build a Drying Routine That Keeps Tomorrow’s Shift Comfortable
A repeatable drying routine works better than waiting for damp boots to smell or feel cold before you act. Brush off mud, remove what you can, dry the parts separately, and give the boots a ventilated place between wears. Starting early reduces how much water has to evaporate overnight, and checking the boot before work keeps the schedule from becoming the only measure of readiness. If you often work in wet conditions, owning a second pair can give each pair time to dry fully.
- After a wet shift: wipe off surface water and mud before it dries hard.
- At home: loosen the laces, remove the insoles if allowed, and open the tongue.
- While drying: use loose absorbent paper and change it when damp; keep airflow moving.
- Before work: check the lining, toe, and footbed, then wear only when the inside is dry.
Suppose you cover several acres outdoors and cross wet grass before sunrise most days. Rotating two pairs, where practical, lets yesterday’s pair dry while you work in today’s. That costs more up front and requires space to store a spare pair, but it gives moisture more time to leave and reduces the pressure to put on a boot that is still damp.
For boots that get soaked often, prevention can reduce the burden. Use the water-repellent treatment suited to the leather and boot construction, and let boots dry fully between wears. A treatment can limit how readily water reaches the material, but it does not make every boot waterproof or remove the need for care; check its instructions and the maker’s guidance before applying it.
Frequently Asked Questions
Can wet leather work boots dry overnight?
Sometimes, if the boots are only damp and the room has good airflow. Boots soaked through may need longer, so check the toe lining, footbed, and area beneath the insole before wearing them.
Can I put leather boots near a radiator?
Keep boots away from direct radiator heat. A ventilated room with a fan circulating room temperature air is safer because concentrated heat can dry leather unevenly and stress its finish or construction.
Is a hair dryer safe for drying leather boots?
A hair dryer is generally a poor choice because it can create intense, uneven heat. Use a fan and absorbent paper, and let the boots take the time they need.
Should I stuff wet boots with newspaper?
You can, as long as you pack it loosely and replace it when damp. Use plain, unprinted absorbent paper for light-colored linings to reduce the risk of ink transfer.
Should I remove the insoles when drying work boots?
Yes, if the boot’s care instructions allow it. Drying insoles separately exposes the footbed to airflow and helps you check whether the inside is ready to wear.
Can I condition leather boots while they are wet?
Wait until the boots are fully dry before conditioning. Choose a product compatible with the leather, use a small amount, and test it on an inconspicuous area first.
How should I dry wet suede or nubuck work boots?
Blot gently and let them dry with airflow; avoid rubbing the wet surface. Once fully dry, use the appropriate suede or nubuck brush and follow the boot maker’s care instructions.
Conclusion
Dry wet work boots with open air, loose absorbent paper, and patience. Remove the insoles and laces, check the lining in the morning, and keep the boots drying if any spot still feels damp; a rushed hot-air fix can cost you flexibility and shape.
Let a steady fan do the moving and the paper do the soaking. Your boots should come back to the next shift ready to work, not stiff as boards or clammy at the toe.