
TL;DR

Get business pricing on tools and workshop supplies
- Business-only prices and quantity discounts
- Tax-exempt purchasing
- Multiple users, one account, clear invoices
Sharpen your mower blades every 20-25 hours of use to improve cut quality and prevent damage. Use a file or grinder for sharpening, then balance the blade to reduce vibrations and prolong mower life. Always remove the blade before maintenance for safety and precision.
Ever tried mowing on a rough, uneven patch of grass? Chances are, your blade wasn’t sharp enough. A dull or unbalanced blade tears grass instead of cutting it cleanly, leaving a ragged look and stressing out your mower. The good news? With just a little effort, you can restore that sharpness and smoothness—saving time, money, and your lawn’s health.
This walkthrough cuts through the confusion, giving you a straightforward plan to sharpen and balance your mower blades safely and effectively. Whether you’re tackling a riding mower or a push model, these steps help you get the best cut every time.
Sharpen blades every 20-25 hours of mowing to maintain clean cuts and lawn health.
Always remove the blade before sharpening or balancing to stay safe.
Use a file for minor touch-ups and a grinder for precise edges, but never overheat the blade.
Check and correct the balance after sharpening to reduce vibrations and avoid damage.
Tighten bolts to manufacturer specs—over-tightening can cause damage or safety hazards.
Why sharpening and balancing matter for your lawn and mower
Sharpened blades slice through grass blades like a hot knife through butter, creating a clean, even cut. This keeps your lawn healthy, reduces stress on the mower, and minimizes clippings left behind. Conversely, dull blades tear grass, which weakens the plant and invites disease. Unbalanced blades cause vibrations that can shake apart your mower over time, leading to costly repairs.
Imagine mowing a lush, green yard with a blade that’s been neglected. The grass looks ragged, and the mower vibrates like a washing machine on spin cycle. Now picture the same yard with a freshly sharpened, balanced blade—clean edges, smooth ride, happy mower. The choice is clear.
Beyond aesthetics, maintaining sharp and balanced blades is crucial for the long-term health of your mower. Excessive vibrations caused by unbalanced blades can loosen or damage internal components, leading to costly repairs or early equipment failure. Dull blades, meanwhile, force your mower to work harder, increasing fuel consumption and wear. So, investing time in blade maintenance isn’t just about appearance; it’s about preserving your equipment’s performance and lifespan.
As an affiliate, we earn on qualifying purchases.
How to safely remove your mower blade in 4 simple steps
- Disconnect power: unplug electric models or remove the spark plug wire for gas mowers. Safety first—never work on a running mower.
- Secure the mower: place it on a stable surface or use blocks to keep it from moving.
- Lock the blade: use a piece of wood or a dedicated blade lock to prevent it from turning as you loosen the bolt.
- Use the right tools: fit a socket or wrench to the bolt, and turn counterclockwise to remove. Keep track of the bolt and any washers.
For example, I once worked on a riding mower in my garage. I used a block of wood wedged between the blade and the deck to keep it from spinning while I loosened the bolt. Always double-check that the blade is free before proceeding to sharpening.
Remember, safely removing the blade is critical because it prevents accidental injuries and allows you to access the blade fully for proper sharpening and balancing. Rushing this step or neglecting safety precautions can lead to dangerous slips or damage to your equipment. Taking time to secure and lock the blade ensures a safer, more effective maintenance process, ultimately saving you from costly accidents or mishaps.
As an affiliate, we earn on qualifying purchases.
How to clean and inspect your blade before sharpening
Remove dirt, grass, and rust from the blade to see its true condition. Use a wire brush and degreaser to scrub off caked-on debris. Then, carefully check for cracks, bends, or excessive wear. A cracked or bent blade must be replaced—sharpening won’t fix structural damage.
For instance, I once found a blade with a tiny crack near the mounting hole. It looked fine at first glance, but a close inspection revealed it was unsafe. Replacing it saved me from a costly break during mowing.
Cleaning and inspecting your blade thoroughly is essential because debris and corrosion can mask damage or weaken the metal. Dirt and rust can also affect the sharpening process, leading to uneven edges or poor balance. Detecting cracks or bends early prevents potential blade failure during operation, which could cause injury or damage. This step ensures you’re working with a safe, sound blade, and it helps you decide whether sharpening is sufficient or if replacement is necessary.
As an affiliate, we earn on qualifying purchases.
How to sharpen your mower blade for a perfect edge
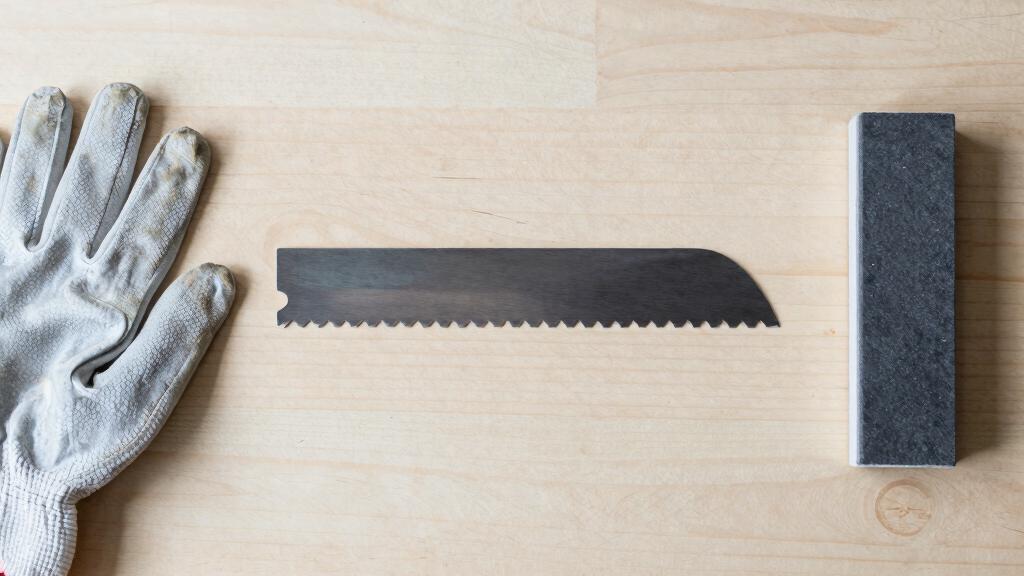
Start by identifying the original bevel angle—usually around 30-45 degrees. Use a file for quick touch-ups or a grinder for a more precise edge. Always sharpen in one direction, maintaining the original shape to prevent imbalance.
For example, I sharpened a worn-out blade with a handheld file, running it along the cutting edge with steady, even strokes. The goal is a sharp, consistent edge that cuts grass cleanly without gouging or dull spots.
Tip: Keep the blade cool by periodically dipping it in water if grinding heavily. Overheating can weaken the metal, leading to potential cracks or warping that compromise safety and performance. Remember, a well-sharpened blade not only cuts better but also reduces the workload on your mower’s motor, saving energy and extending its lifespan.
Sharpening with care ensures you maintain the original blade geometry, which is crucial for balance and effective cutting. Avoid removing too much material, as this can alter the blade’s weight distribution and cause imbalance. Using the correct angle and technique results in a durable, sharp edge that improves cutting efficiency and overall mower health.
As an affiliate, we earn on qualifying purchases.
How to check and correct blade balance in 3 easy steps
A balanced blade spins smoothly, reducing vibrations that can damage your mower. To check, place the blade on a simple nail or pin through its center hole. If it tips to one side, it’s unbalanced.
Correct the imbalance by removing small amounts of metal from the heavier side with a file or grinder. Recheck after each tweak until the blade sits evenly. This process is vital because even a slight imbalance can cause excessive vibrations, leading to premature wear on your mower’s engine, belts, and blades. Maintaining proper balance not only extends the life of your equipment but also ensures a quieter, smoother mowing experience. It’s a small step that makes a big difference in the longevity and safety of your mower, preventing unnecessary repairs and downtime.
For instance, I once balanced a blade that was causing loud vibrations. Removing just a few grams from the heavy side made a huge difference—quiet, smooth mowing resumed. Always take your time, recheck frequently, and remember that a well-balanced blade is key to optimal mower performance.
How to reinstall your blade safely and correctly
Reattach the blade with the original bolts, making sure it’s oriented correctly—blades usually have a flat side and a beveled side. Tighten bolts to the manufacturer’s torque specs. Use a torque wrench if possible to avoid over-tightening.
For example, I once forgot to check the direction and installed the blade upside down. The cut was uneven, and vibrations increased. Always double-check the orientation before tightening.
Remember: a loose blade can be dangerous, so secure it tightly. Over-tightening can strip threads or cause warping, which might lead to unsafe operation. Proper reinstallation ensures your mower runs smoothly, cuts cleanly, and reduces the risk of accidents. Take the time to verify the correct orientation and torque specifications—this final step is crucial for safety and optimal performance.
Test your mower after blade maintenance — here’s what to listen and feel for
Reconnect the mower and run it on a small patch of grass. Pay attention to vibrations, noises, or uneven cuts. If you notice excessive vibrations or wobbling, recheck the blade balance or tighten bolts.
For example, after balancing a blade, I tested on my lawn. The cut was smooth, and the mower ran quietly. If you feel odd vibrations, stop immediately—something’s off.
This step is essential because it confirms that your maintenance was successful and that your mower is safe to operate. Ignoring abnormal vibrations or noises can lead to further damage or safety hazards. Listening carefully and feeling for unusual behavior ensures you catch issues early, saving you time and money down the line.
Always perform this test in a safe environment and be prepared to turn off the mower if anything seems wrong. Ensuring your mower runs quietly and smoothly not only prolongs its lifespan but also makes your mowing experience more enjoyable and less stressful.
Frequently Asked Questions
How often should I sharpen my mower blades?
Aim to sharpen every 20-25 hours of mowing, roughly once per season. If your grass starts to look ragged or the mower vibrates more than usual, it’s time to check the blades.Can I sharpen mower blades with a regular file?
Yes, a file works well for minor touch-ups, especially if the blade isn’t too dull. For more consistent edges, a grinder or sharpening stone provides a better finish.How do I know if my blade is balanced?
Place the blade on a nail or pin through the center hole. If it tips to one side, it’s unbalanced. Correct by removing small bits of metal from the heavy side, then recheck.What are signs my blade needs replacing?
Look for cracks, bends, excessive dullness, or uneven wear. If the blade is damaged or heavily worn, replacing it is safer and more effective than sharpening.Should I sharpen blades while still attached to the mower?
It’s safer and more precise to remove the blade before sharpening. Working on a detached blade keeps you safe from accidental injuries and gives better access.Conclusion
Maintaining sharp, balanced mower blades is a simple step that pays off every time you mow. It’s about more than just a cleaner cut—it’s about protecting your mower, your lawn, and your time. A quick, regular check keeps your yard looking professional and your equipment running smooth.
Next time you go out to mow, picture that razor-sharp edge slicing through grass like a hot knife through butter. That’s the difference a little maintenance makes. Grab your tools, get to work, and enjoy a beautifully cut lawn—safely and efficiently.
Fall yard work Picks
leaf blowers
As an affiliate, we earn on qualifying purchases.